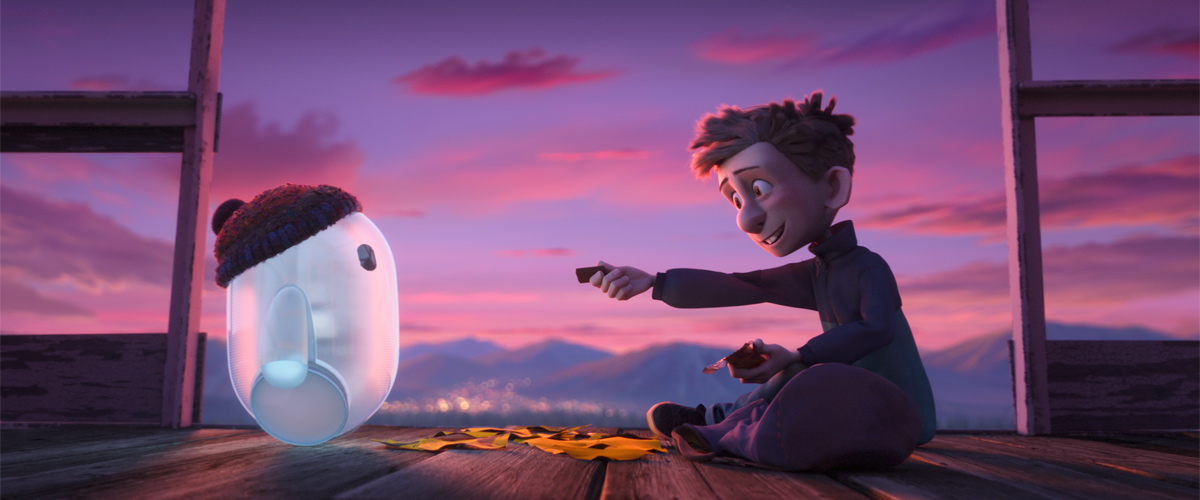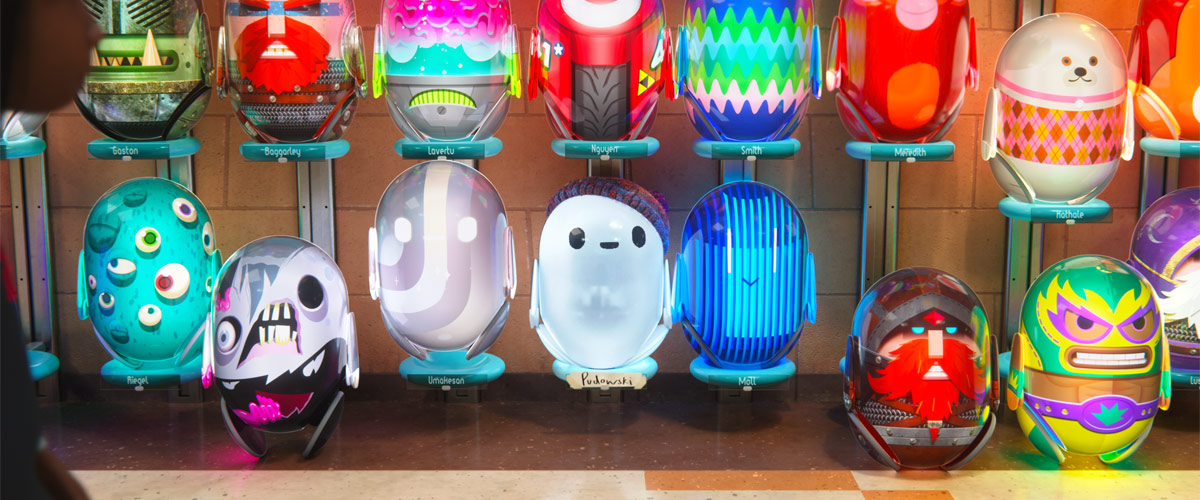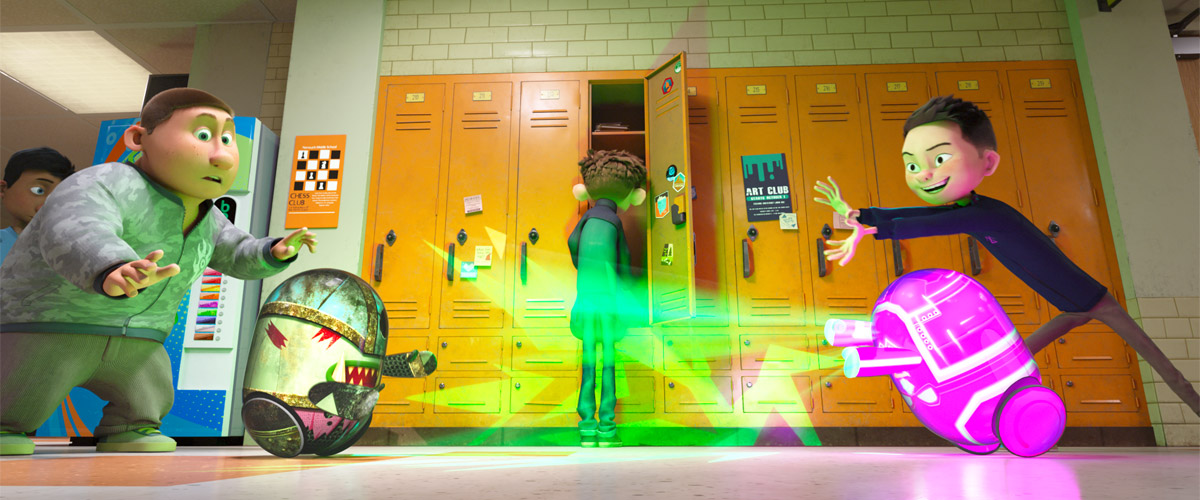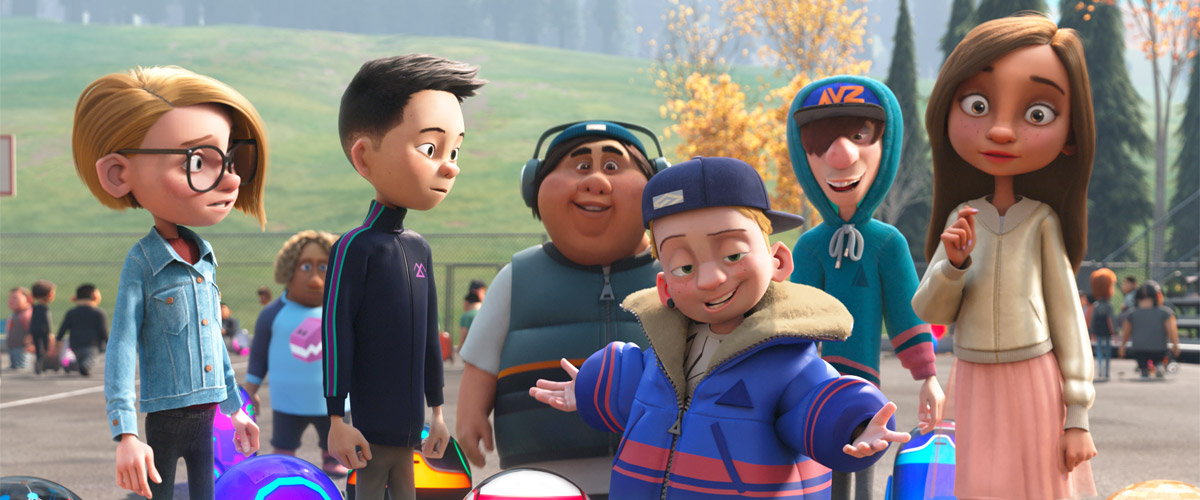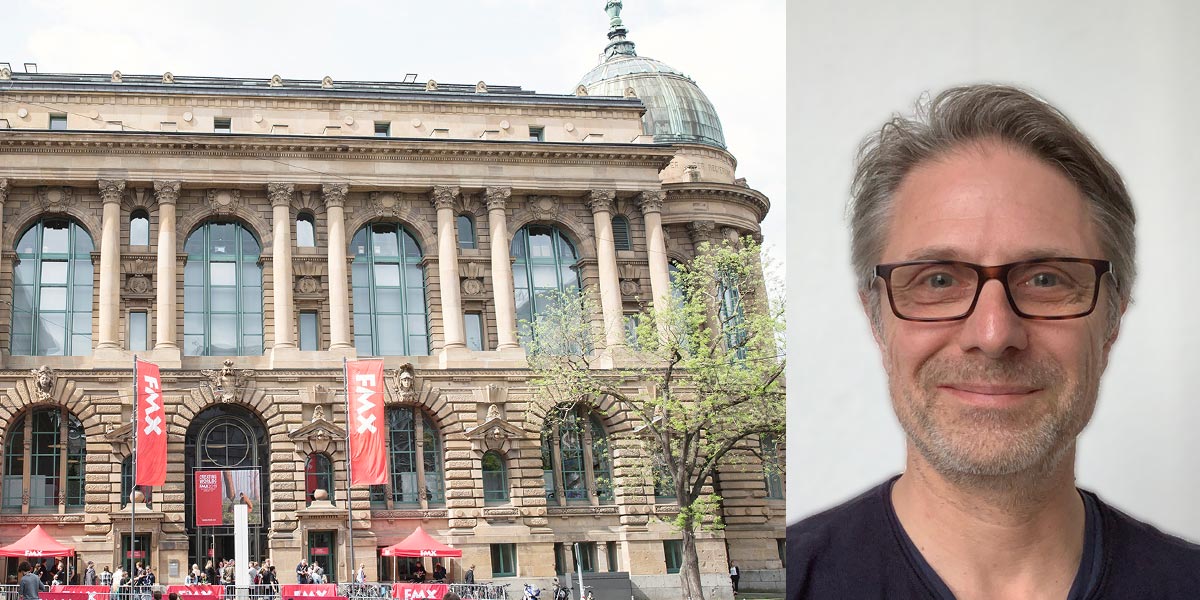
DNEG Animation (the animation film division of DNEG, one of the world-leading VFX studios headquartered in London) attended FMX, one of the most influential digital entertainment conferences in the world. As one of the speakers this year, the studio shared their techniques, knowledge and experiences in developing high-quality 3D animation with creators gathered from the world. We had the opportunity to hear from Matt Waters, CG Supervisor at DNEG Animation, on the creation of Ron’s Gone Wrong.
Interview with Matt Waters
Hideki Nagaishi (HN): Could you please let us know your role in the film project Ron’s Gone Wrong?
Matt Waters: I was a Lighting Supervisor on the show, along with my co-supervisors Pietro Materossi & Faris Ahmed Ali.
HN: What were your most impressive achievements in the film, and what did you take care of to accomplish them?
Matt Waters: I think the most impressive achievement associated with this film is that it was DNEG Animation’s first feature (it was also our client Locksmith Animation’s first feature).
Feature animation was new to DNEG and our crew; workflows and parts of our production pipeline were being built as we worked on the film. For the lighting team, this meant building our processes, training, tools and templates from scratch. Our Lighting Lead and Supervisors all had previous feature animation experience, which was very helpful because it meant that we shared a common vocabulary and vision for the department.
Another helpful thing was that we made the most of our time early on the show, before our department got super busy with shot-inventory, to do planning, development and testing – which would prove valuable or necessary later on.
HN: Could you please briefly explain the whole production pipeline of the film project, including the names of all software in use?
Matt Waters: Our feature animation pipeline was built on the backbone of DNEG’s existing VFX pipeline. We were early-adopters of USD at the studio, something that Ron’s Gone Wrong benefited from.
We used Maya & Zbrush for Modeling, Mari & Katana for Surfacing, Avid for Editorial, Maya for Layout, Rigging & Animation, Houdini for Crowds, FX and CFX, Katana for Lighting, and Nuke for Compositing, DMP and Image Finalling. We had an in-house design and motion graphics team who used Cinema 4D, After Effects and Photoshop.
HN: What benefits did you gain from using Foundry’s Katana, and could you please explain to our readers how you were able to achieve those benefits with Katana?
Matt Waters: Katana was used for lookdev and lighting on Ron’s Gone Wrong. The key benefit that Katana provides for a feature animation project like this one is management and manipulation of very heavy scenes.
From the point of view of a lighting supervisor, the other key benefit that Katana provided was multi-shot lighting. This was functionality added to the package by our dev-team (Derek Haase, Ievgen Kulieshov and Soren Ragsdale), but made possible/easier due to the extensibility of Katana. The feature-set included a panel for viewing the shot-structure of a show, similar to the scene graph panel for viewing the asset-structure of a shot. We were able to build multiple shots in a single session of Katana and scope work in the node-graph to particular shots.
These features, along with Katana’s livegroups, which were integrated into our asset-database, allowed our lighting teams to work efficiently, sharing work across multiple shots/artists/teams which helped to minimize the duplication of efforts.
HN: Were there any other software that was important to the film project, and why?
Matt Waters: From the perspective of a lighting supervisor on the film, the other important piece of software for us was Nuke. On Ron’s Gone Wrong the Lighting team were responsible for compositing their shots (we also had a separate Shot Finalling team who used Nuke as well). As was the case with Katana, core Nuke functionality was extended to provide multi-shot functionality which helped to reduce avoidable repetition and duplication of efforts. In particular DNEG’s ‘popcorn’, a suite of Python tools used to generate Nuke scripts, and ‘microwave’, an interface for baking ‘popcorn’ templates and dispatching Nuke render jobs, were used to batch-generate comp-scripts and scope work to particular shots. This provided a level of automation which was a massive time-saver for us, in large part due to the efforts of our Compositing Supervisor Jean-Francois Leroux who developed and maintained 2D tools & templates for the film.
Combined, our Katana and Nuke feature sets allowed us to flexibly choose the best domain for addressing a creative note – 2D or 3D.


